Adding users to Cronofy
Before you can share your availability with your colleagues or scheduler an event on their behalf, you need to add them to your Cronofy Organisational Unit (OU).
Her you will learn how to add users to your Cronofy environment. Whether manually, through an automatic sync of a subset of users, or a full sync.

Invite users manually
This is the standard way to invite users to your OU (Organisational Unit). To invite users manually head to:
OU settings -> Members -> Users
Scroll all the way down and select ADD USERS. This will open the the invite tab (see screenshot) Now you can enter the emails (up to 20 at a time) of the users you want to invite to your OU.
Bellow that you will find the roles selector which determines the role if the users you invite. You can read more about roles in this article.
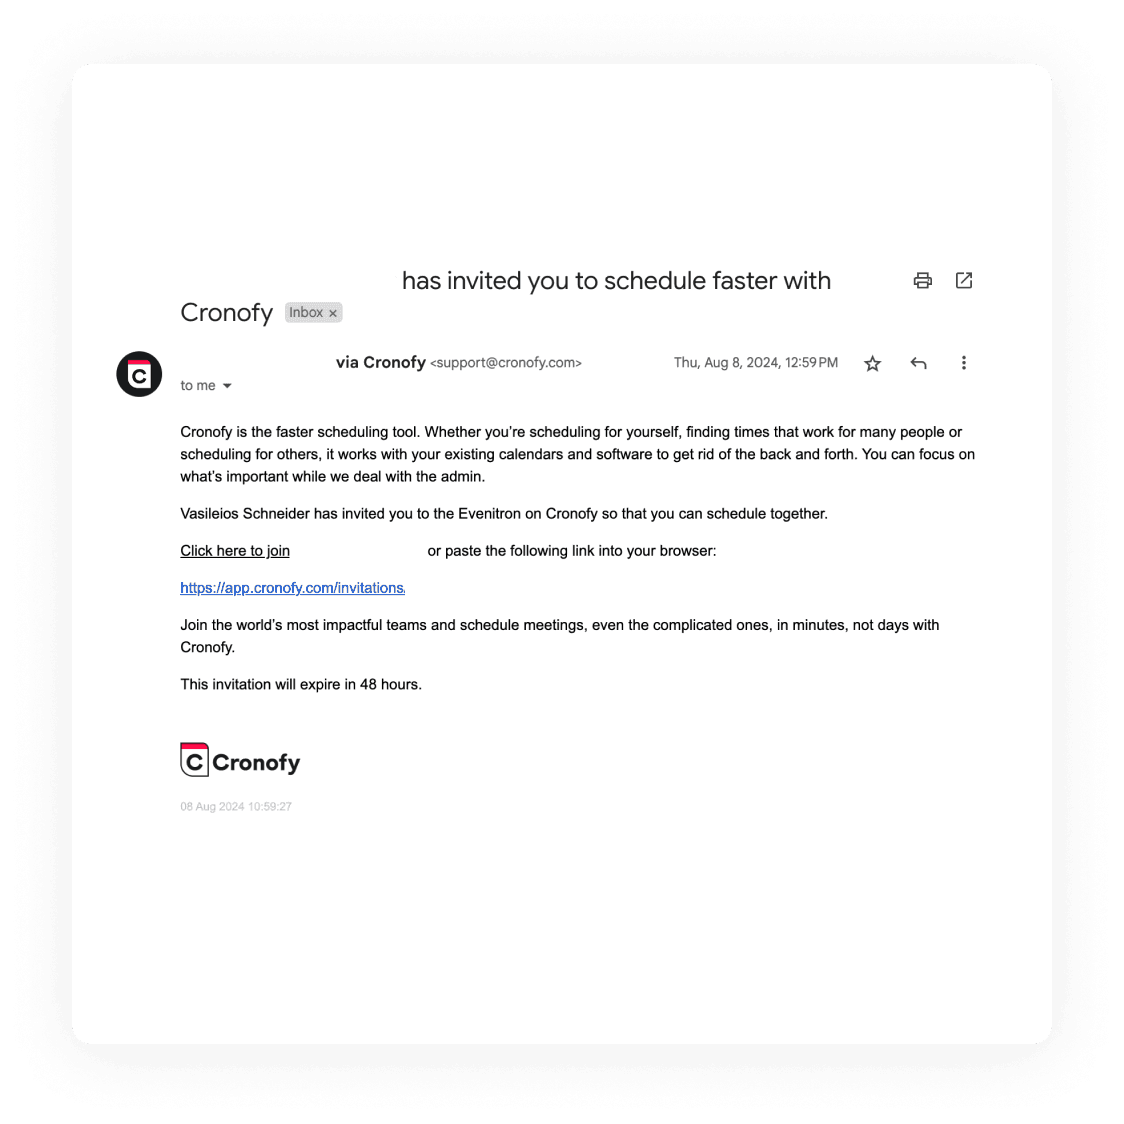
The users will then receive an email prompting them to accept your invite, which is valid for 48hrs.


from this email the users can click the link and setup their Cronofy accounts by selection setup scheduler or simply join your OU if they have an account already by signing in.
Domain Sign Up
You can skip sending invites to your team and allow any coworkers who share your email domain to join your OU by enabling Domain Sign Up.
To enable Domain sign up, you need to click on your OU on the left hand panel. Then you select scheduling>settings.
Simply click on the tickbox and the option is enabled.
Only Owners can do this.

Directory Sync via Enterprise Connect
Our Enterprise Connect function allows you to connect a service account via MS365 or Google Workspace, quick and easy without extra cost. From there you have the option of full or partial directory syncs.
The service account will auto-generate Cronofy accounts for your users without them having to accept email invitations or sign-up themselves.
More information can be found here.

Add Meeting Rooms
We can add meeting rooms to your organisation and be able to share availability with them or add them in a selection rule, so that you can the system auto-assign them. Meeting rooms will reside in the resources tab next to users.
OU Settings -> Members -> Resources
You need to create these rooms as resources in your Google or Microsoft environment as they need to have their own email.
Simply message us in Support with a room list and their emails and we will add these for you.

Do I pay for everyone with a service account?
No, when you onboard all users' calendars via a service account you will not pay for every account. You will only pay for anyone who has been part of a scheduler request.
What is the appropriate role for a regular interviewer?
'Member' so they can only see their own settings. After accepting the invite, your interviewers won't need to do anything else in Cronofy.
What can I share with my IT around Data & Privacy of onboarding users?
Do interviewers need to take any action if we set up a service account?
No, everything will be synced to Cronofy on the backend and they will not have to interface with Cronofy. Only your recruiters and coordinators will work with Cronofy.
Do rooms get also added automatically when directory sync is active?
At the moment, we only include room in directory sync for Microsoft Azure, not Google Workspace, but you can send us a list of the rooms(email) that you would like and we will onboard them